What you are making
A good wire repair needs three things: a mechanically sound connection, a reliable electrical path and proper insulation afterward. A helpful sequence is:
PREPARE → JOIN → HEAT → APPLY SOLDER → COOL → INSULATE → TEST
The solder should reinforce a neat conductor-to-conductor connection; it should not be the only thing holding two wires that merely touch. For safety-critical, high-current, vehicle, mains or strain-heavy applications, use the specified rated joining method instead of this beginner low-voltage technique.
What you need
- Temperature-controlled soldering iron: lets you use a suitable setting for the iron, solder and wire.
- Stable iron stand: gives the hot tool a safe place between steps.
- Electronics solder: choose solder and flux intended for electrical/electronics work; plumbing or acid-core products are not substitutes.
- Wire stripper and side cutters: remove insulation cleanly and trim stray strands.
- Correctly sized heat-shrink tubing: covers the finished joint and overlaps intact insulation on both sides.
- Helping hands or a small work holder: keeps the joined wires still without using your fingers as clamps.
- Multimeter: checks continuity across the unpowered repaired path.
- Safety glasses and fume extraction or ventilation: protect your eyes and reduce exposure to flux fumes.
A brass-wool tip cleaner is optional. Follow your iron maker’s instructions for cleaning and tip care.
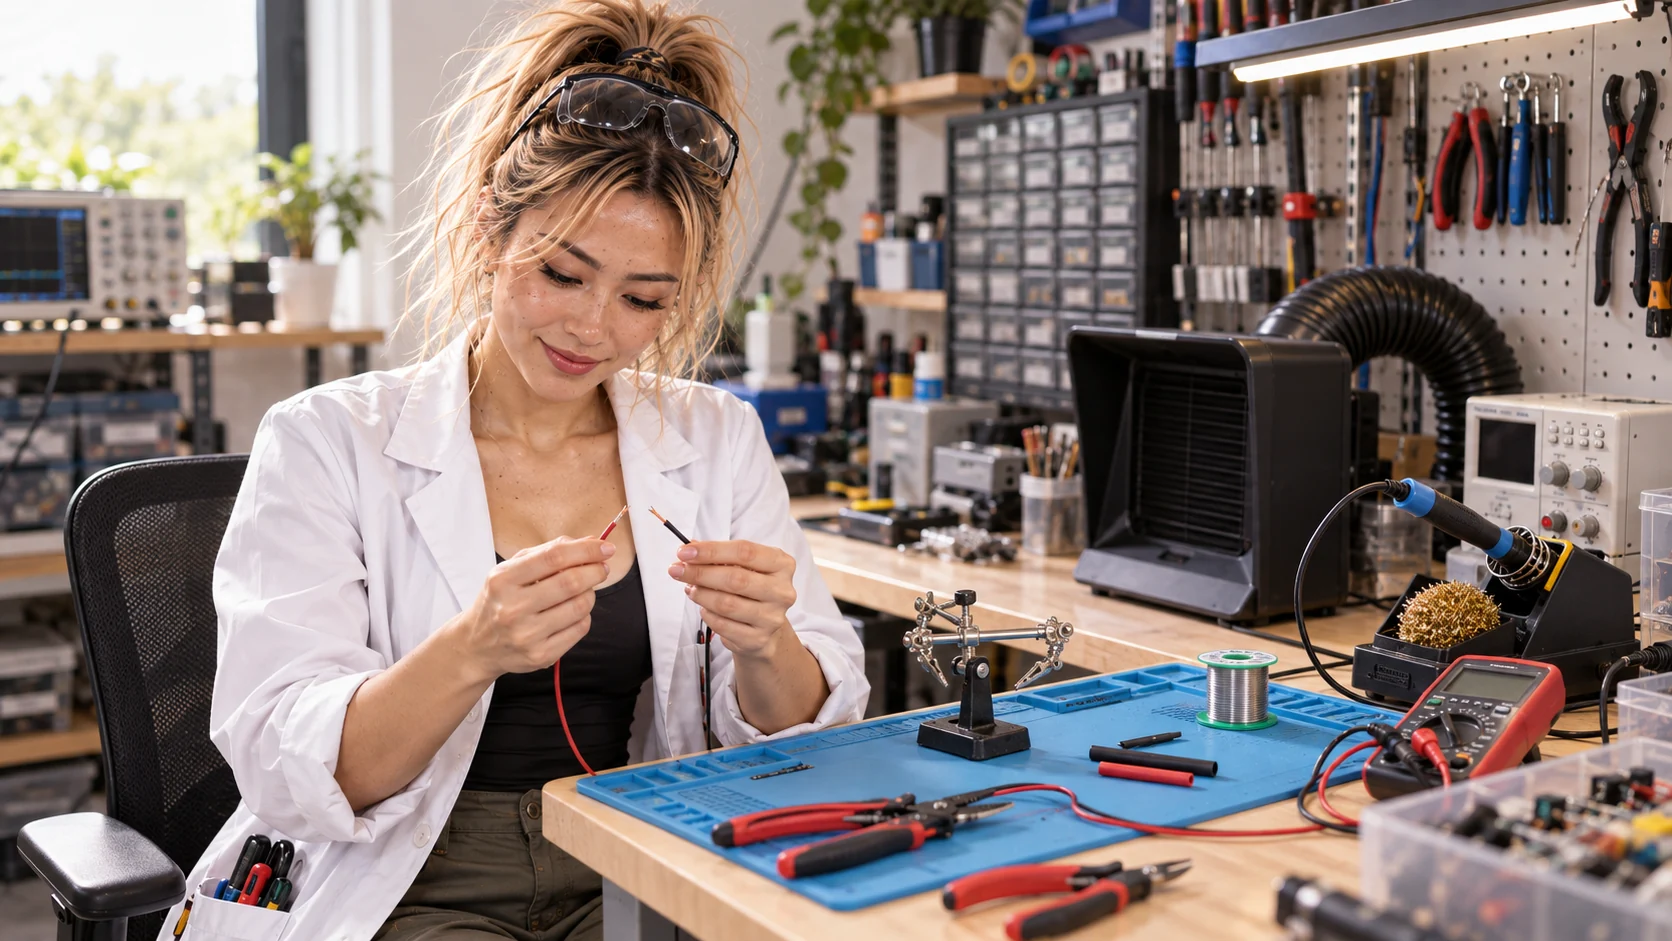
Step 1 — Disconnect power
Unplug or otherwise disconnect the circuit from its power source before stripping, joining or soldering. Remove batteries where practical, and make sure stored energy is dealt with according to the equipment instructions. Do not solder an energized wire.
Step 2 — Strip and inspect the wires
Use a stripper suited to the wire gauge and remove only enough insulation to make the planned joint. Avoid nicking or cutting copper strands: damaged strands reduce the conductor’s cross-section and can break later. Inspect the exposed copper, trim damaged ends, and gently gather loose strands together so none stick out.
Step 3 — Put the heat-shrink on first
Slide a correctly sized piece of heat-shrink onto one wire before joining anything. Move it well away from the work area so soldering heat cannot shrink it early.
Step 4 — Make a mechanical connection
Arrange the stripped conductors so they make stable contact before soldering. The right overlap or splice shape depends on the wire and application; follow any repair or equipment instructions that apply. Gently check that the joined wires stay together in the holder. Do not rely on a loose crossing of strands and a blob of solder to create the mechanical connection.
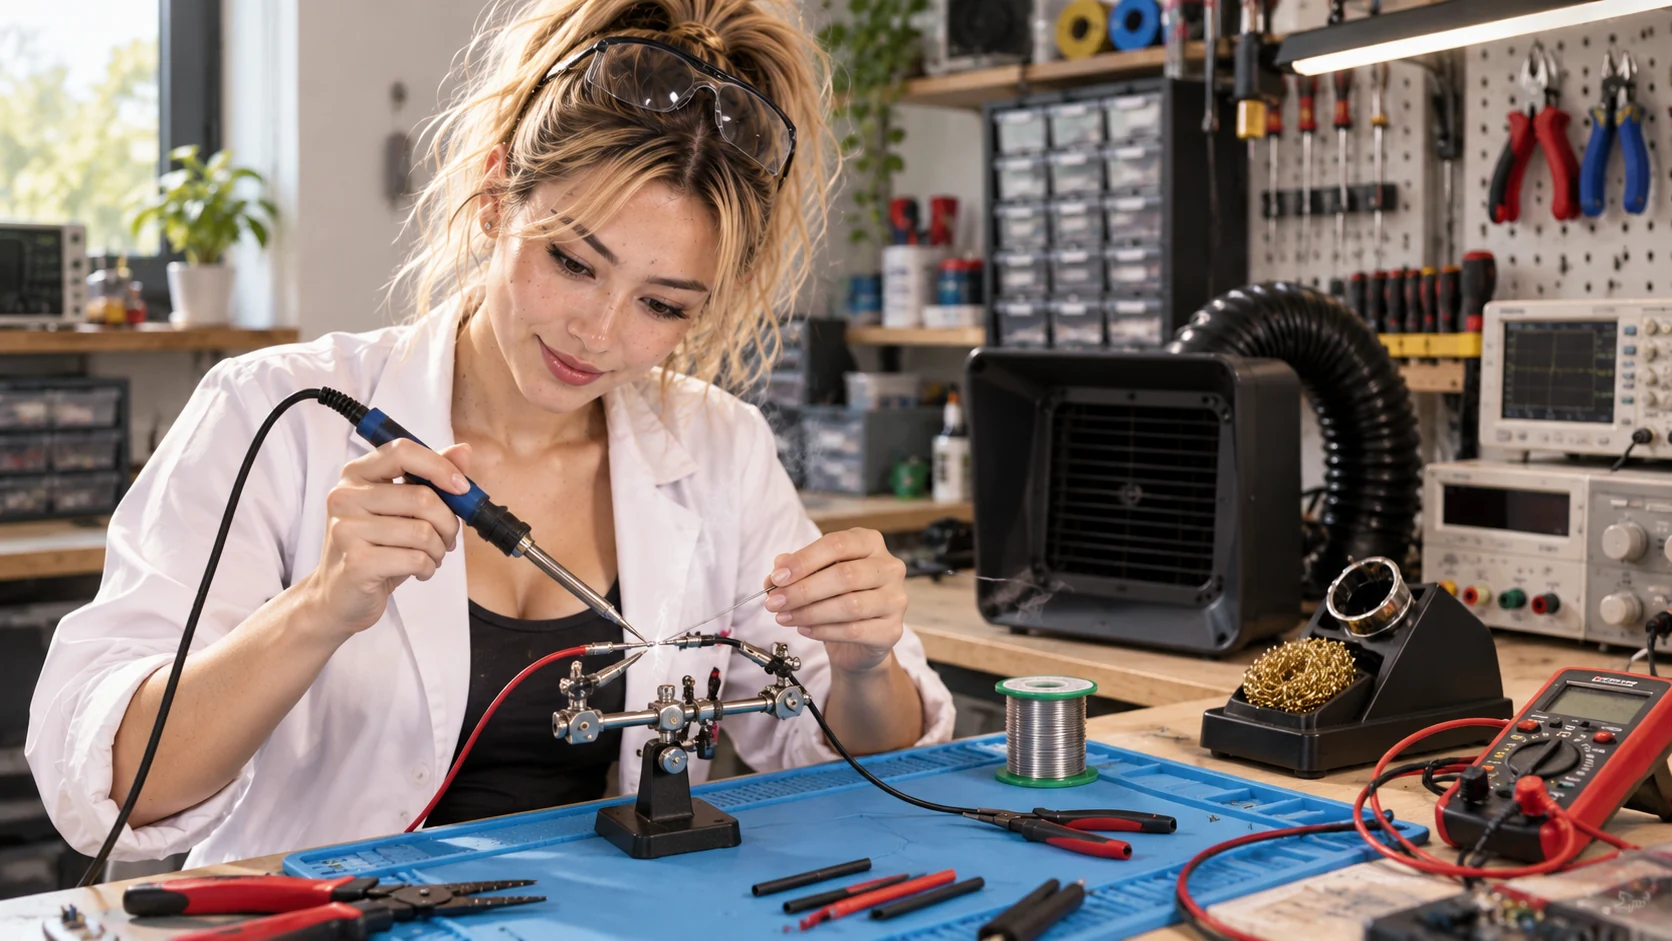
Step 5 — Heat the joint, then feed solder
The goal is to heat the metal conductors so solder melts against the joint and flows through the connection. Do not make the joint by melting a ball of solder on the iron and carrying it to cold wires. A small amount on a properly prepared tip can help heat transfer, but feed the solder into the heated connection.
- Secure the joined wires in a holder so they cannot move.
- Place the clean iron tip against the conductor joint, not the insulation.
- Give the metal a moment to warm, following the iron and solder instructions.
- Touch solder to the heated joint and let it flow through the connection.
- Use only enough solder to wet and reinforce the joined conductors; do not bury the wire in a large blob.
- Remove the solder first, then lift away the iron.
- Keep the connection still while it cools naturally.
How much solder is enough?
On a reasonable small connection, the conductor shape remains visible and solder has flowed through the joined area without a large mass. The connection should be stable, with no loose strands. Too much solder can hide the joint and make inspection harder; a shiny or smooth appearance by itself does not prove the repair is electrically sound.
Watch for solder sitting only on the surface, incomplete wetting, stray strands, damaged insulation or movement while cooling. If the joint looks questionable, disconnect the iron, let it cool, then correct the connection before insulating it.
Step 6 — Let the joint cool and inspect it
After removing the iron, leave the wires still until the solder has solidified and the joint has cooled. Do not hold the fresh joint with your fingers or blow on it as a required cooling method. Once cool, check that the conductors remain mechanically secure, no strands escape, the solder has flowed into the joint, and the surrounding insulation is not excessively melted or damaged. Repair a questionable connection before covering it.
Step 7 — Insulate with heat-shrink
When the joint is cool, slide the tubing over the exposed connection and center it so it fully covers the joint and overlaps intact insulation on both sides. Shrink it with a suitable controlled heat source, such as an appropriate heat gun, while keeping the heat moving and away from nearby insulation. Do not use an open flame as the preferred beginner method. Follow the tubing maker’s instructions and avoid overheating the wire.
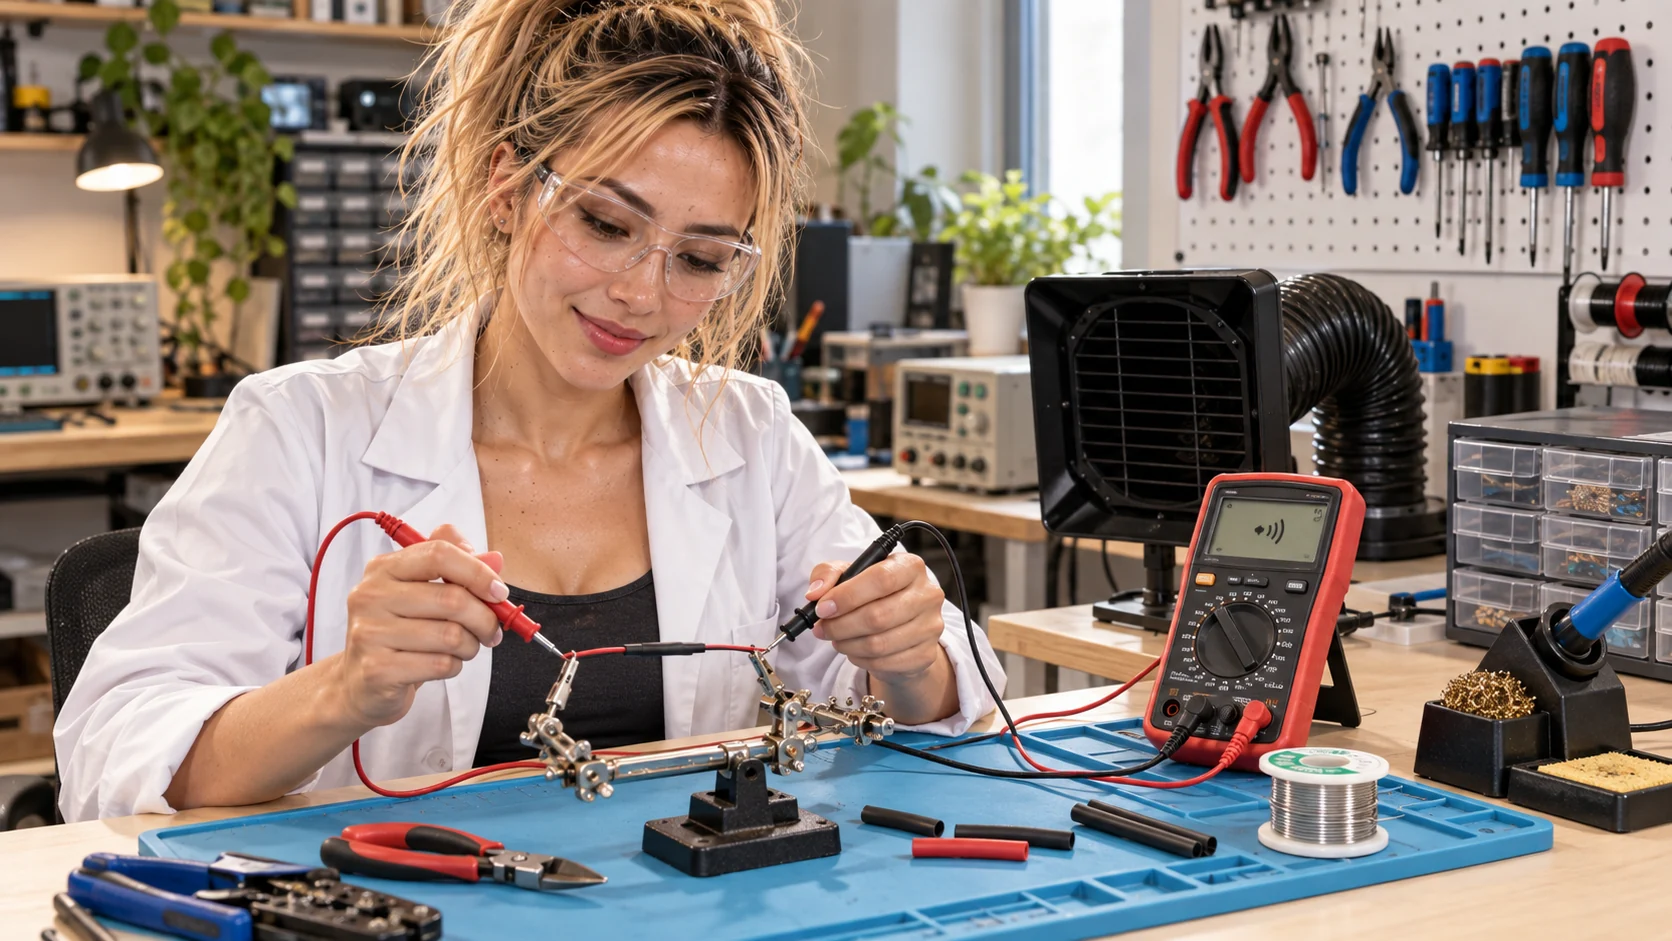
Step 8 — Test continuity with a multimeter
A continuity check can help confirm there is an electrical path through the repaired conductor. The circuit must remain disconnected from power. Continuity is not a powered-circuit test, and a beep alone does not prove that the whole system is healthy under load.
- Confirm the circuit is unpowered and isolated as needed.
- Set the multimeter to continuity mode and use the correct input jacks according to its manual.
- Touch the probes to conductive points on opposite sides of the repaired path. The points must be bare conductive contacts—not the outside of the heat-shrink.
- Check the meter’s display or audible indication. A stable low-resistance path generally indicates continuity; behavior varies by meter.
- If the result is absent or unstable, recheck probe contact, meter mode, conductor integrity and the joint before returning the project to service.
For a fuller walk-through of the meter, lead jacks and continuity mode, see How to Use a Multimeter: Voltage, Resistance & Continuity for Beginners.
Common beginner mistakes
Slide it onto a wire before making the joint, then park it well away from the heat.
Expose only the conductor needed and trim damaged wire back to clean strands.
A large blob hides the connection and does not automatically make it stronger.
Heat the conductor joint, then feed solder into the heated metal.
Let it cool still; freshly soldered metal can burn and movement can spoil the connection.
Use a suitable technique and ventilation; stop and reassess if insulation softens or fumes build up.
Return it to its stand whenever it is not in active use.
Disconnect power before using continuity or resistance mode.
Troubleshooting a wire joint
Solder will not flow into the joint
The conductors may not be hot enough, may be dirty or oxidized, or the tip may need cleaning. Confirm that the solder and flux are intended for electronics work, and follow the iron maker’s recommended temperature and technique. Do not compensate by piling solder onto the tip.
The insulation keeps melting
The iron may be held too long, the joint may be receiving excessive heat, or heat may be traveling along a small conductor. Use a suitable setting and technique, keep the tip on the metal, and stop if insulation damage continues.
The joint looks like a large ball
More solder does not mean a better connection. Let it cool, inspect whether solder flowed through the conductors, and rework the joint if the wire is loose or the solder only coats the surface.
The continuity test fails
Check that the circuit is unpowered, the meter is in continuity mode, and probes touch conductive test points. If those are correct, inspect the conductor and joint; do not probe through or onto the heat-shrink.
Soldering Wires FAQ
Can a beginner learn to solder wires?
Yes. Practice on scrap low-voltage wire, use a stable holder, follow the iron and solder instructions, and keep the circuit disconnected from power.
Should I twist wires before soldering?
Arrange the conductors into a stable mechanical connection before soldering. The correct splice shape depends on the wire and application, so follow the relevant repair instructions.
Do I put solder on the iron or the wire?
Heat the joined conductors with the iron, then feed solder into the heated joint. A small amount on the tip may help heat transfer, but do not carry a blob to cold wire to form the connection.
How much solder should I use?
Enough to flow through and wet the joined conductors, while leaving the connection shape reasonably visible. A large blob is not a goal.
Why will solder not stick to my wire?
The wire may be dirty or oxidized, the joint may not be hot enough, the tip may need care, or the solder/flux may not suit the job. Recheck the materials and iron instructions.
Can I use electrical tape instead of heat-shrink tubing?
This guide uses properly sized heat-shrink for a compact insulated repair. The right insulation method depends on the application; use a rated method specified for the circuit rather than assuming tape is interchangeable.
How do I know if my soldered connection works?
Inspect that the joint is secure and insulated, then check for continuity while the circuit is disconnected from power. A continuity result is one basic check, not proof of performance under load.
Can I test continuity on a powered circuit?
No. Disconnect power before using continuity or resistance mode, and follow the multimeter’s instructions.
Final thoughts
A dependable low-voltage wire repair is not about using lots of solder. Prepare the conductors, make a stable connection, heat the joint so solder flows, let it cool, insulate it properly and verify continuity with the circuit unpowered. Practice on scrap wire first, and follow the equipment instructions whenever the application calls for a specific joining method.