
First Question: Is It Safe to Change the Tire Here?
Do not proceed if you are exposed to fast-moving traffic, the ground is soft or strongly sloped, visibility is poor, weather is unsafe, or you cannot safely locate and use the vehicle’s jacking point. Move to safety where possible and call roadside assistance if the situation is not suitable for a tire change.
If you can work safely, move away from traffic onto firm, level ground. Turn on hazard lights where appropriate, keep passengers away from traffic, and use the vehicle owner’s manual for vehicle-specific instructions. The photographs in this article are editorial illustrations; the written safety guidance and manufacturer instructions take precedence over any visible mechanical detail.
What You’ll Need
- Spare or replacement wheel
- Vehicle jack
- Lug wrench
- Vehicle owner’s manual
- Wheel chocks where appropriate
- Gloves
- Flashlight if needed
- Reflective safety equipment for roadside emergencies where applicable
Some modern cars do not include a spare wheel. They may use a tire repair kit, inflator and sealant system, or run-flat tires instead. Learn what equipment your specific vehicle carries before an emergency happens.
Step 1 — Secure the Vehicle
Choose firm, level ground away from traffic. Turn on the hazard lights where appropriate, apply the parking brake, and put an automatic transmission in Park or secure a manual transmission in the appropriate gear according to the owner’s manual. Keep occupants in a safe position and place wheel chocks where appropriate. Do not raise the car yet.
Step 2 — Get the Spare and Tools Ready
Find the spare wheel, jack, lug wrench, owner’s manual, and the manufacturer-approved jacking point. Check for a wheel-lock key if the vehicle uses locking lug nuts. Preparing everything before lifting keeps you from leaving a raised vehicle unattended while searching for equipment.
Step 3 — Loosen the Lug Nuts Before Lifting
On many conventional setups, loosen the lug nuts slightly while the tire is still touching the ground. This helps prevent the wheel from rotating while you apply the initial force. Loosen only; do not fully remove the nuts yet. If your vehicle’s instructions differ, follow the owner’s manual.
Step 4 — Find the Correct Jacking Point
Use the location specified by the manufacturer. An incorrect lifting point can damage bodywork, destabilize the jack, or create a serious injury risk. Never improvise an unsafe lifting point or lift on soft, unstable ground.
Step 5 — Raise the Vehicle
Raise the vehicle only enough for the flat tire to clear the ground. Stay out from underneath the vehicle. Never place hands, legs, head, or any other body part underneath a vehicle supported only by an emergency jack.
Step 6 — Remove the Flat Wheel
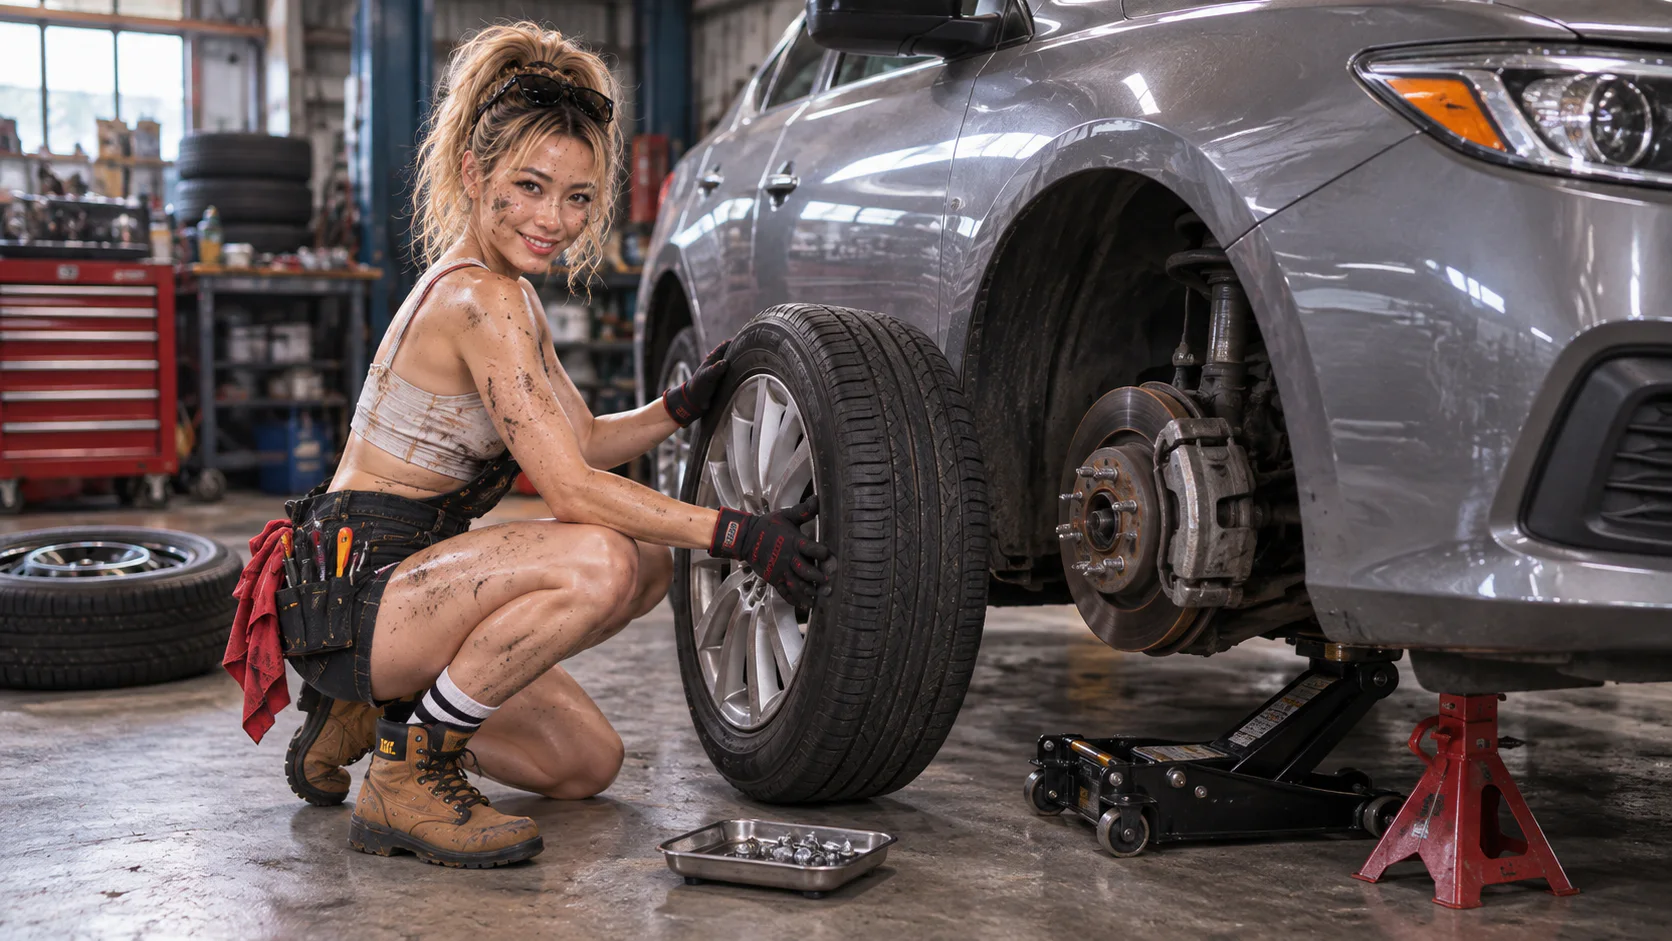
Finish removing the loosened lug nuts and keep them together somewhere clean. Support the wheel naturally, pull it straight outward from the hub, and place it where it cannot roll. Wheels can be heavier than beginners expect, so use good lifting posture and never put yourself underneath the car.
Take a Quick Look
With the wheel removed, you may see the wheel hub, brake rotor or disc, brake caliper, and wheel studs where applicable. This is a quick orientation check, not a brake-service tutorial. If anything looks obviously broken or severely damaged, stop and arrange a professional inspection.
Step 7 — Install the Replacement Wheel

Align the replacement wheel with the hub or studs and support it while it seats. Start each lug nut by hand and make sure it threads smoothly. If a lug nut does not thread smoothly, stop and do not force it; forcing it can cross-thread the fastener.
Step 8 — Snug the Lug Nuts
Snug the lug nuts enough to hold the wheel in place. For common multi-lug wheels, a star or cross sequence can help seat the wheel evenly, but the correct sequence depends on the wheel configuration. Do not claim final torque has been reached at this stage.
Step 9 — Lower the Vehicle
Lower the vehicle carefully and keep everyone clear. Once the replacement tire is properly contacting the ground and the vehicle is stable, remove the lifting equipment according to the manufacturer’s instructions.
Step 10 — Final Tightening
Tighten the wheel fasteners to the vehicle manufacturer’s specified torque. Use a torque wrench where required or recommended by the manufacturer, and follow the correct tightening sequence for that wheel. Do not use one universal torque number or simply tighten “as hard as possible”; both under-tightening and excessive tightening can cause problems.
Step 11 — Check the Spare Tire
If using a full-size replacement, verify its pressure and condition. If using a temporary compact spare, check the markings on the tire and the owner’s manual for inflation pressure, speed limitation, and distance or use limitation. These limits vary, so do not invent universal numbers. A temporary spare is generally intended to get the vehicle to proper repair or service.
What Should You Do With the Flat Tire?
A flat tire is not automatically repairable. A professional should evaluate the puncture location and size, sidewall or structural damage, and the overall tire condition. Do not attempt to repair damage that may be unsafe.
Common Beginner Mistakes
- Changing a tire too close to traffic
- Lifting on unstable ground
- Using the wrong jacking point
- Fully removing lug nuts before lifting
- Putting body parts underneath the vehicle
- Losing lug nuts
- Installing the wheel incorrectly
- Cross-threading lug nuts
- Guessing final torque
- Forgetting to check spare tire pressure
- Treating a temporary spare like a normal tire
Don’t wait for a flat tire to discover where your jack and spare are. Find them now, while you’re at home and not standing beside the road.
Quick Checklist Before Driving
- Replacement wheel seated correctly
- Lug nuts installed correctly
- Final tightening completed to manufacturer specification
- Vehicle fully lowered and stable
- Jack and tools removed
- Spare tire pressure checked
- Flat tire and tools secured in the vehicle
- Temporary-spare limitations checked if applicable
Final Thoughts
Changing a flat tire is not about speed. It is about making a series of simple steps safely and correctly. Once you know where your tools and jacking points are, the job becomes much less intimidating.