Brake systems vary by vehicle. Caliper design, pad hardware, torque values, lubrication points, piston-retraction procedures, electronic parking brakes, wear sensors, rear mechanisms, and brake-fluid requirements can all differ. This guide focuses on a conventional front floating-caliper disc brake as a general learning example. Consult the vehicle-specific manufacturer service information before starting, and choose professional service if you cannot confidently complete and verify the work safely.
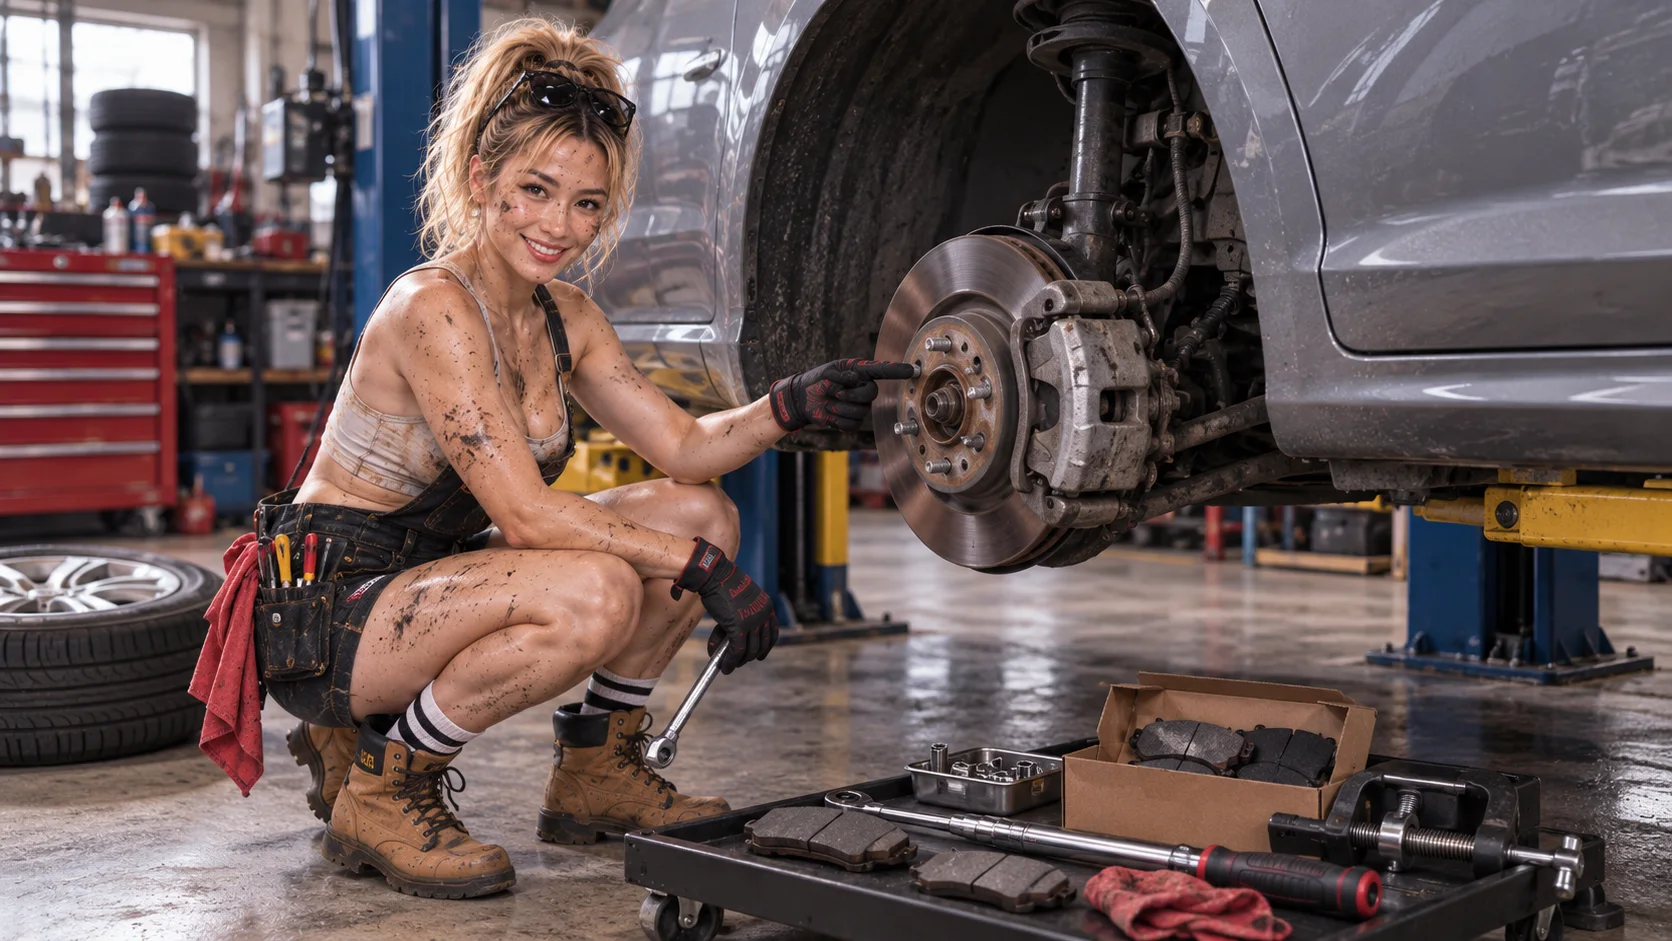
First: Know What You’re Looking At
A front disc brake normally includes the brake rotor or disc, brake caliper, brake pads, caliper bracket, flexible brake hose, and wheel hub. When you press the pedal, hydraulic pressure moves the caliper piston and clamps the pads against the rotating rotor. Friction slows the wheel and turns motion into heat.
When Might Brake Pads Need Attention?
Possible signs include a wear-indicator noise where equipped, a brake warning or wear message, reduced pad thickness found during inspection, unusual braking noise, or a vehicle-specific service inspection result. Do not diagnose every noise as worn pads: grinding, pulling, vibration, fluid leakage, a soft pedal, or abnormal braking behavior can point to other problems that need proper diagnosis.
Tools & Materials
Requirements vary, but a typical front-pad job may involve:
- Correct replacement brake pads and required clips, shims, or hardware
- Appropriate jack or lift and safe vehicle support
- Wheel-removal tools, ratchet, and correct sockets
- Torque wrench
- Brake piston retraction or compression tool
- Caliper support hook
- Brake cleaner where appropriate and manufacturer-approved brake lubricant where required
- Gloves, eye protection, and shop towels
- Vehicle-specific service information
Step 1 — Prepare and Secure the Vehicle
Work on a firm, level surface. Follow the vehicle’s parking procedure, use wheel chocks where appropriate, locate the manufacturer’s lifting points, and support the vehicle safely before removing the wheel.
Never work on brakes with the vehicle supported unsafely. Never put any part of your body under a vehicle supported only by an emergency jack. If you cannot establish safe support, stop and get professional help.
Step 2 — Inspect Before Disassembly
Look at the pad condition, rotor, caliper, brake hose, obvious fluid leakage, and hardware. If significant damage or leakage is visible, stop and diagnose the problem before simply replacing the pads. New pads do not correct every braking fault.
Step 3 — Access the Brake Pads
On many floating-caliper designs, one or more caliper fasteners are removed so the caliper can pivot or lift away from the pads. The exact procedure varies, so follow the vehicle-specific service information and keep the fasteners and hardware organized.
The flexible hose carries hydraulic pressure and allows suspension and steering movement; it is not intended to support the caliper’s weight. Use a proper caliper hook or another appropriate support method without stretching, twisting, or kinking the hose.
Step 4 — Remove the Old Brake Pads
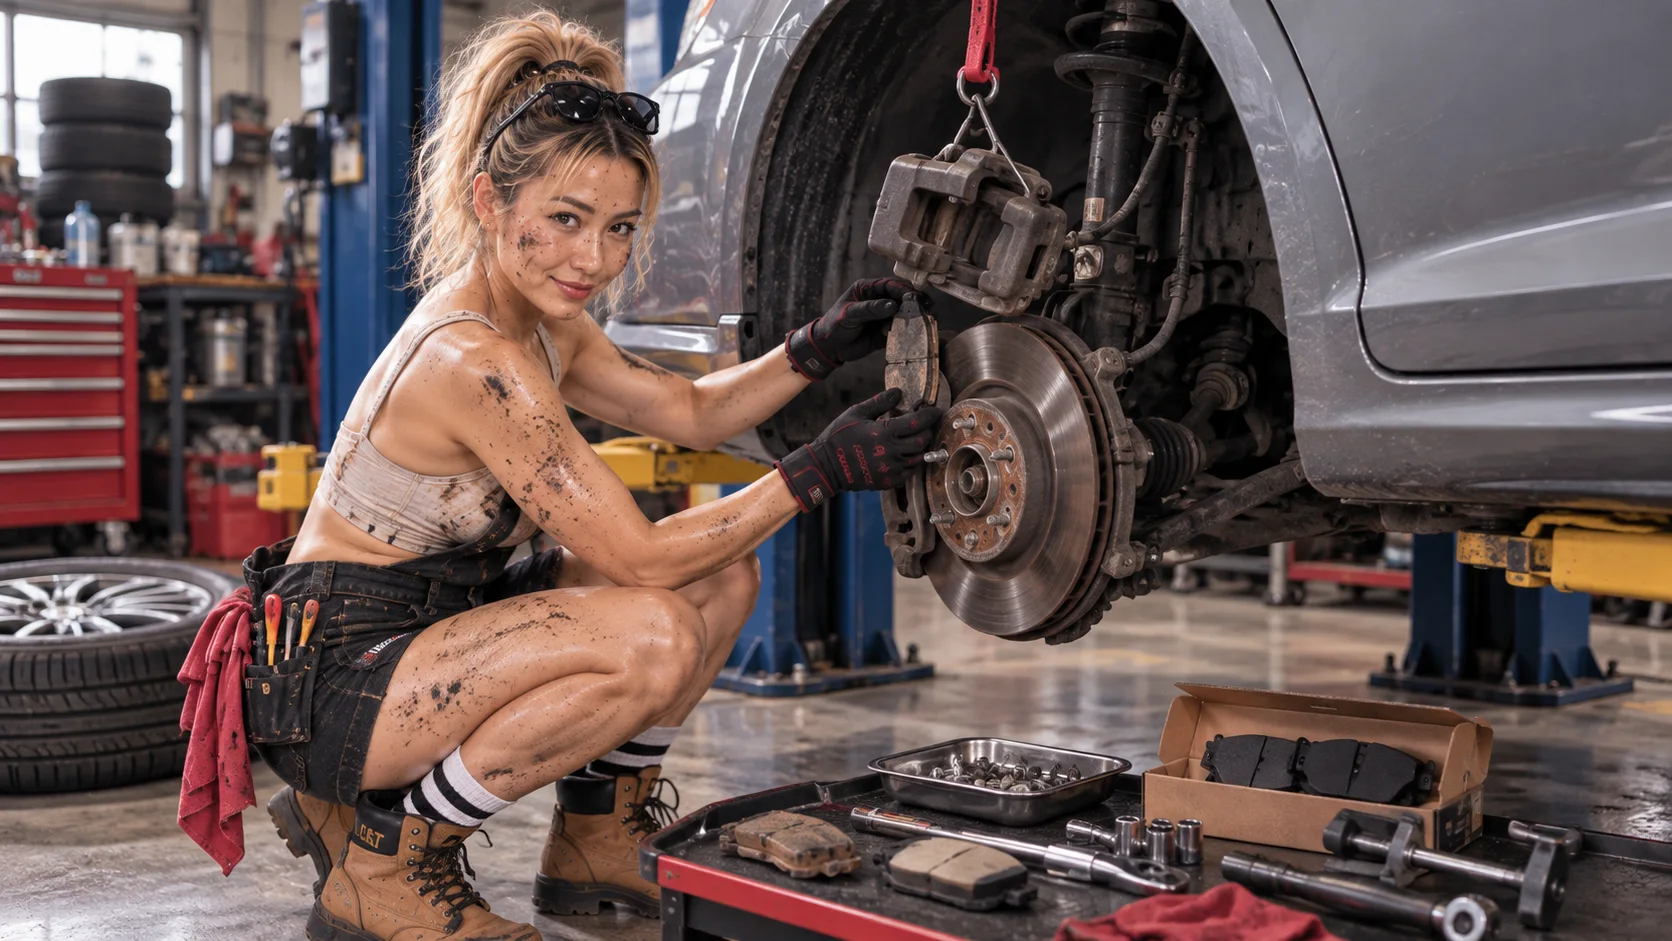
Note the orientation of the old pads, clips, shims, and other hardware before removing them. Compare inner and outer pad wear and keep relevant parts together. Uneven wear can indicate caliper-slide or piston problems; do not assume new pads alone will fix it.
Old Pad vs New Pad
A brake pad is broadly made from a backing plate and friction material. The friction material becomes thinner with use, but there is no universal minimum thickness to apply to every vehicle. Manufacturer limits and inspection methods vary.
Step 5 — Inspect the Rotor
Look for scoring, cracking, heat damage or discoloration, abnormal wear, and signs that the rotor may be damaged. Appearance alone cannot establish serviceability: rotor thickness and runout require correct measurement against vehicle-specific limits. If the condition is questionable, measure it correctly or obtain a professional evaluation.
Step 6 — Retract the Brake Piston Correctly
New pads are thicker than worn pads, so additional space is usually needed. On many conventional front floating calipers, the piston is carefully retracted with an appropriate tool. Do not force a piston when the correct procedure is unknown.
Different systems need different procedures. Some rear systems integrated with parking brakes or electronic parking brakes may require piston rotation, special tools, electronic service mode, or a scan-tool procedure. Retracting pistons can also raise the brake-fluid level in the reservoir, so monitor it according to the manufacturer’s instructions and do not allow it to overflow.
Step 7 — Install the New Brake Pads
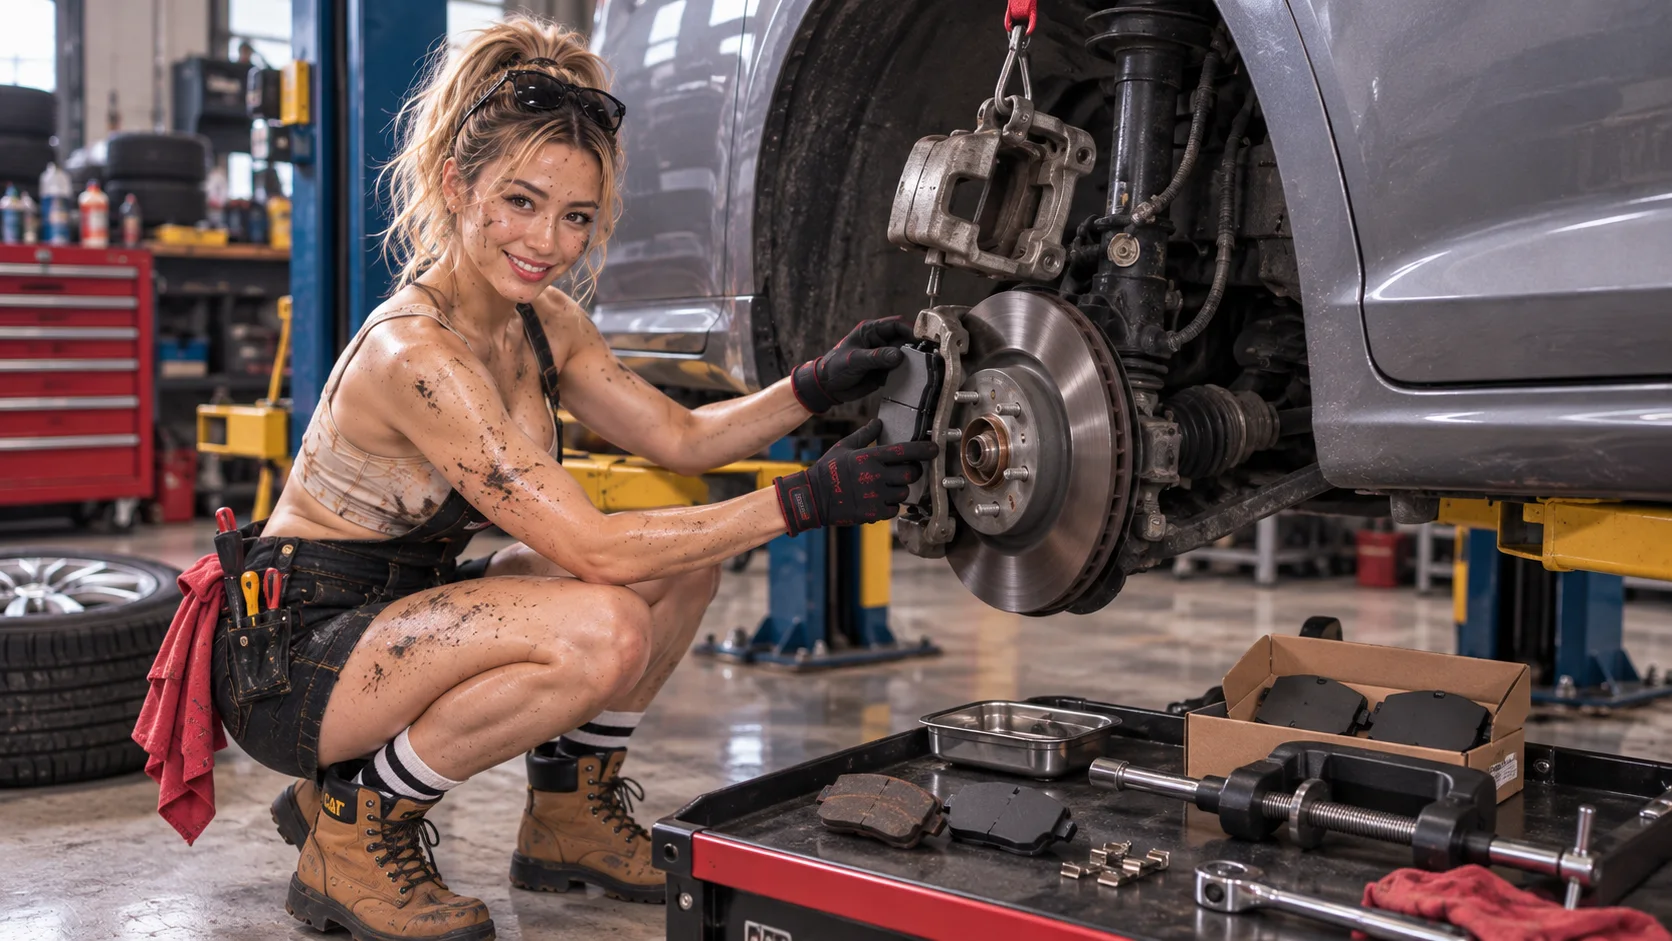
Install the correct pads in the correct orientation. Refit required clips, shims, and hardware. Use lubricant only where the manufacturer specifies it, and keep friction surfaces clean. Never apply grease or lubricant to the pad friction surface or rotor friction surface; contamination can seriously reduce braking performance.
Step 8 — Reinstall the Caliper
Position the caliper correctly, confirm that the brake hose is not twisted, reinstall the fasteners, and torque them to the manufacturer’s specification. Do not substitute a universal torque value.
Step 9 — Reinstall the Wheel
Reinstall the wheel, start the lug nuts correctly, lower the vehicle according to the safe procedure, and complete final tightening to the manufacturer’s specification. For the wheel-changing fundamentals, see How to Change a Flat Tire — A Beginner’s Guide.
After the pistons have been retracted, the brake pedal may initially travel farther than normal. Before moving the vehicle, press the pedal repeatedly according to the correct service procedure until normal firm pedal feel is restored. If the pedal remains soft, sinks abnormally, does not become firm, or behaves unexpectedly, do not drive. Investigate the system or obtain professional assistance.
Step 10 — Final Inspection
Before driving, verify that the caliper is installed correctly, fasteners are torqued, the brake hose is not twisted, there are no fluid leaks, the wheel is correctly installed, wheel fasteners are torqued, the fluid level has been checked according to the manufacturer’s procedure, and the pedal feels correct.
What About Bedding-In New Brake Pads?
Bedding or burnishing procedures vary by pad manufacturer, pad compound, rotor condition, and vehicle manufacturer. Follow the brake-pad and/or vehicle manufacturer’s procedure. Do not invent or apply one universal aggressive-braking sequence.
Common Beginner Mistakes
- Working with unsafe vehicle support
- Letting the caliper hang from the brake hose
- Mixing up pad or hardware orientation
- Contaminating friction surfaces
- Using incorrect lubricant
- Forcing the piston back incorrectly
- Ignoring electronic parking-brake procedures
- Guessing bolt torque
- Failing to inspect the rotor
- Ignoring uneven pad wear
- Forgetting to restore brake pedal pressure
- Driving before verifying the brake system
- Using an arbitrary bedding procedure
Take a photo before removing the pads and hardware. It gives you a quick reference for how everything was positioned.
Quick Checklist Before the Car Moves
- Correct pads installed
- Pad hardware installed correctly
- Caliper correctly positioned
- Brake hose free from twists or tension
- Required fasteners torqued to specification
- Wheel installed correctly
- Wheel fasteners torqued to specification
- Brake fluid level checked appropriately
- No visible leaks
- Brake pedal restored to normal firm feel
- Manufacturer bedding procedure understood
Final Thoughts
Brake pad replacement shows why mechanical work is more than removing old parts and installing new ones. Correct support, clean friction surfaces, proper torque, hose routing, piston procedure, and final brake verification are what make the repair safe.