What is a jigsaw?
A jigsaw is a handheld saw with a short, narrow blade that reciprocates—moves rapidly up and down—through the material. Because the blade can be steered, a jigsaw is well suited to curves, cutouts and maneuverable cuts. It can also make straight cuts, although a long straight cut can be harder to keep true than one made with a suitable guide and circular saw.
A circular saw uses a larger rotating blade and is generally a better fit for fast, long straight cuts. For a fuller comparison, read our jigsaw and circular saw guide.
Know the basic parts
Controls vary by model. Identify the parts and read the manual before installing the battery or approaching the work.
Handle and trigger
The handle gives you control; the trigger starts and stops the motor. Some models add a lock or variable-speed trigger.
Blade and blade clamp
The blade does the cutting. The clamp holds it, but blade interfaces and locking steps differ between saws.
Base plate or shoe
The flat plate rests on the workpiece and helps support the saw as you guide it.
Battery or power cord
Cordless models use a battery; keep a corded saw’s cord routed away from the blade and cut.
Speed and orbital controls
If fitted, these adjust blade speed or forward cutting action. Settings and their effects vary by tool and material.
Bevel adjustment
Some shoes tilt for angled cuts. For a basic curve, keep the shoe square and locked as the manual directs.
What you need
- A corded or cordless jigsaw in good condition
- A compatible blade identified for wood or plywood of your material’s thickness
- Plywood or scrap wood for practice
- Stable workbench or supports and clamps
- Pencil, tape measure, and a straightedge or square as needed
- Safety glasses and hearing protection
- Optional: sanding block or sandpaper for minor edge cleanup
Step 1 — Choose the right blade
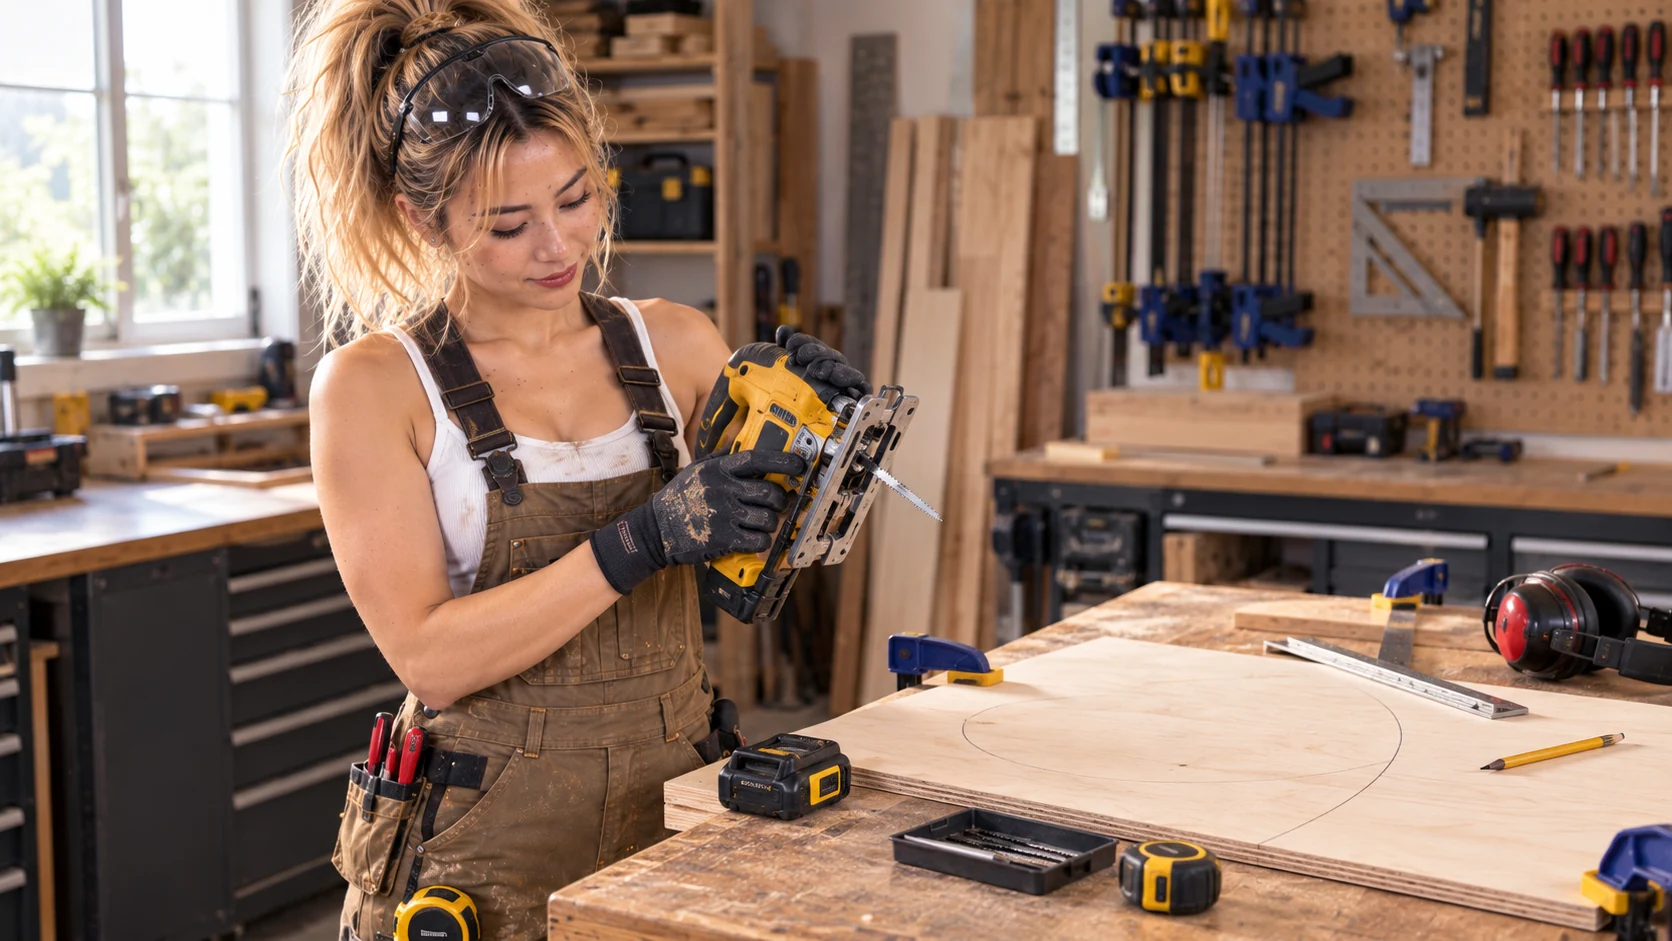
Choose a blade that is compatible with your jigsaw and identified by its maker for the material and thickness you plan to cut. Then consider the finish and curve. A finer tooth pattern often leaves a cleaner edge but may cut more slowly; a coarser blade can cut faster but may leave a rougher edge. Blade width and design also affect how easily it can follow a curve.
Blade tooth direction and cutting behavior differ between designs. Check the blade markings and manufacturer guidance instead of assuming every blade works the same way.
Step 2 — Install the blade safely
Remove the battery or disconnect the saw from power first. Identify the clamp style on your model and follow its manual: insert the compatible blade fully, engage the lock as directed, then check that it is straight and securely seated. Do not assume all jigsaws use the same clamp or loading method. Refit the battery only when the blade is secure and you are ready to set up the cut.
Step 3 — Mark a broad curve
Draw a clear pencil line on the face of the plywood. For a first practice cut, choose a broad, gentle curve rather than a tight turn. If useful, mark the waste side so you know which side of the line to remove. A tighter curve generally needs a blade and setup suited to the smaller radius; do not try to make an unsuitable blade turn by twisting the saw.
Step 4 — Support and clamp the workpiece
Set the plywood on a stable support so it cannot shift or sag. Leave clearance below the entire blade path: the blade must not hit the bench or a support. Place clamps outside the saw’s travel path, and plan how the offcut will be supported so it cannot drop or pinch the blade as the cut finishes. Keep hands away from the cut and from underneath it.
Choose clamps that fit the work and hold it securely. Our guide to types of clamps explains common options and their uses.
Step 5 — Position the jigsaw
Check the underside and clamp positions one more time. Align the blade with the starting point and set the base plate flat on the plywood. Use a balanced stance and the handles intended by the manufacturer; keep your hands and cord, if present, away from the blade path. Make sure the saw can travel along the whole line without striking a clamp or support.
Step 6 — Start and guide the cut
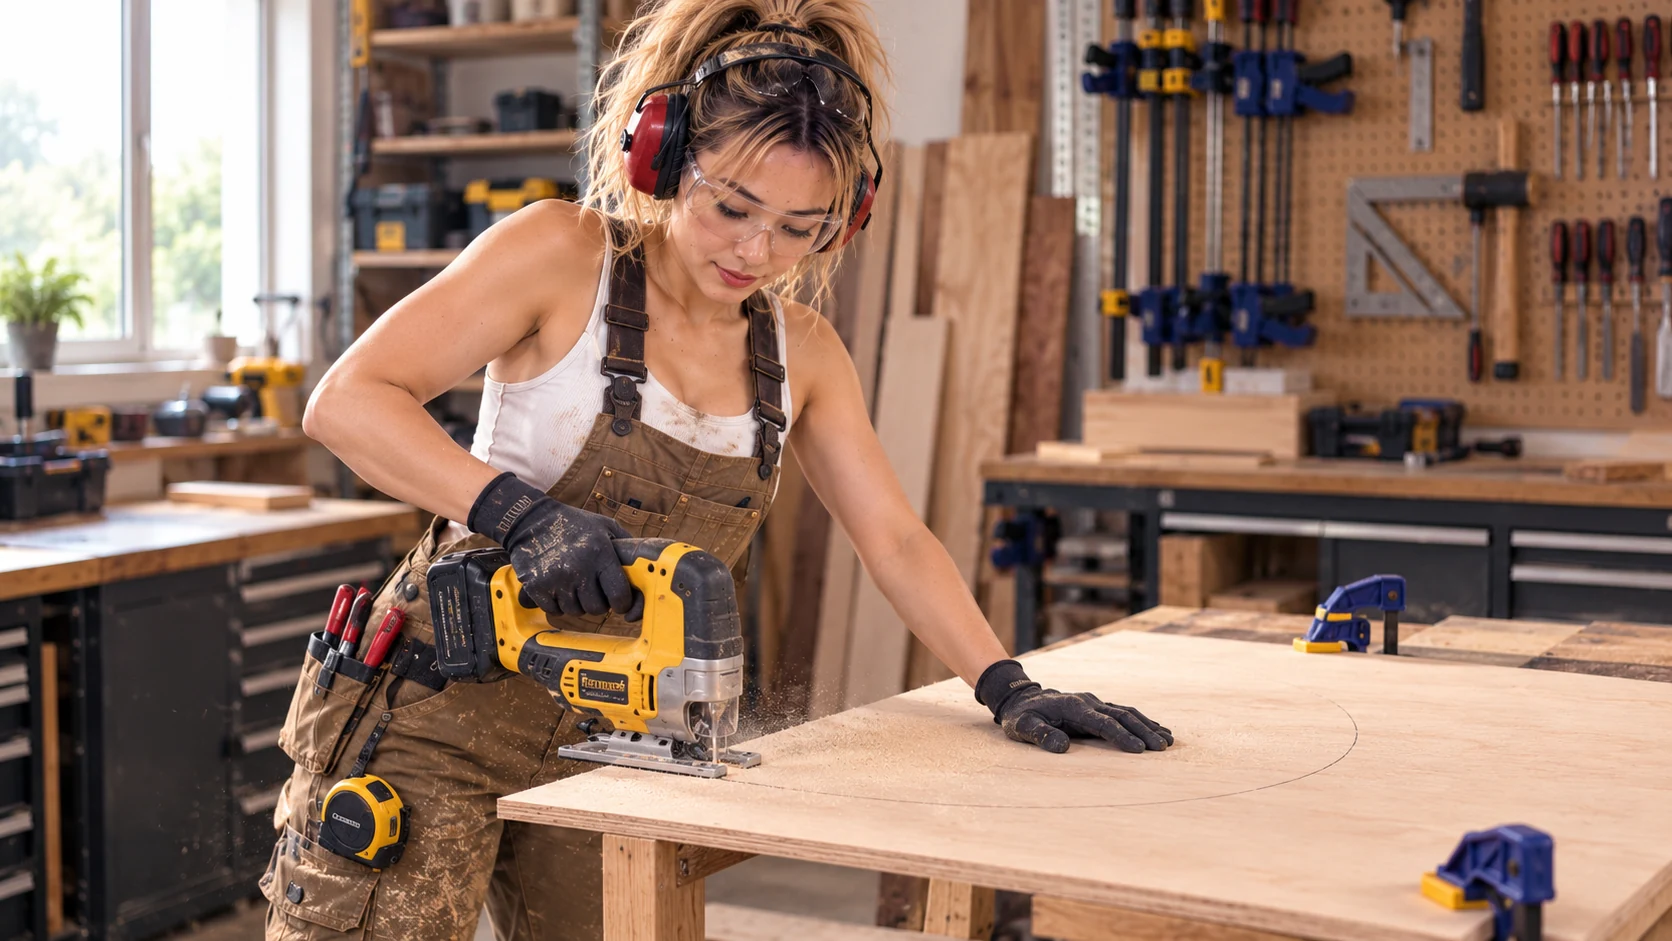
- With the shoe supported and the blade clear of the work, start the saw according to its instructions.
- Allow it to reach the appropriate operating speed for the tool and setup.
- Guide the blade into the cut and follow the marked line while keeping the shoe flat.
- Move at a controlled pace and let the blade do the work; do not push harder to speed it up.
- Slow down as the curve changes direction and stay in control through the end of the cut.
Forcing a jigsaw can make its thin blade deflect, especially in thicker material or a tight curve. If the saw resists, wanders or behaves unexpectedly, release the trigger and hold it steady until the blade stops. Reassess the blade, curve, material thickness and support before continuing.
Following a curve without forcing it
Look a little ahead along the pencil line and make small, smooth steering corrections. Keep the shoe flat and let the blade advance. Avoid suddenly twisting the whole saw sideways: that can bend the blade and leave an angled or wandering cut. A narrower blade suited to curves may turn more easily, but the appropriate radius depends on the blade, material, thickness and saw.
If the blade starts to flex or the tool will not follow the line comfortably, stop. Reconsider the blade and curve, or make a relief cut if appropriate for the project; do not force the saw around a radius the setup cannot handle.
Orbital action: a quick note
Some jigsaws have orbital action, which adds a forward-and-back motion to the blade stroke. More orbital action can make a suitable cut faster but may leave a rougher edge. A lower setting or no orbital action may offer more controlled cutting or a cleaner finish. Controls and results vary, so start with your saw manual and blade guidance rather than treating one setting as universal.
Finish the cut safely
Keep control as the blade exits the material. Release the trigger and hold the saw still until the blade stops completely; then set the tool down safely. The blade may be hot, so do not touch it right after cutting. Remove the battery or disconnect power before inspecting closely or adjusting the blade.
Inspect the finished cut
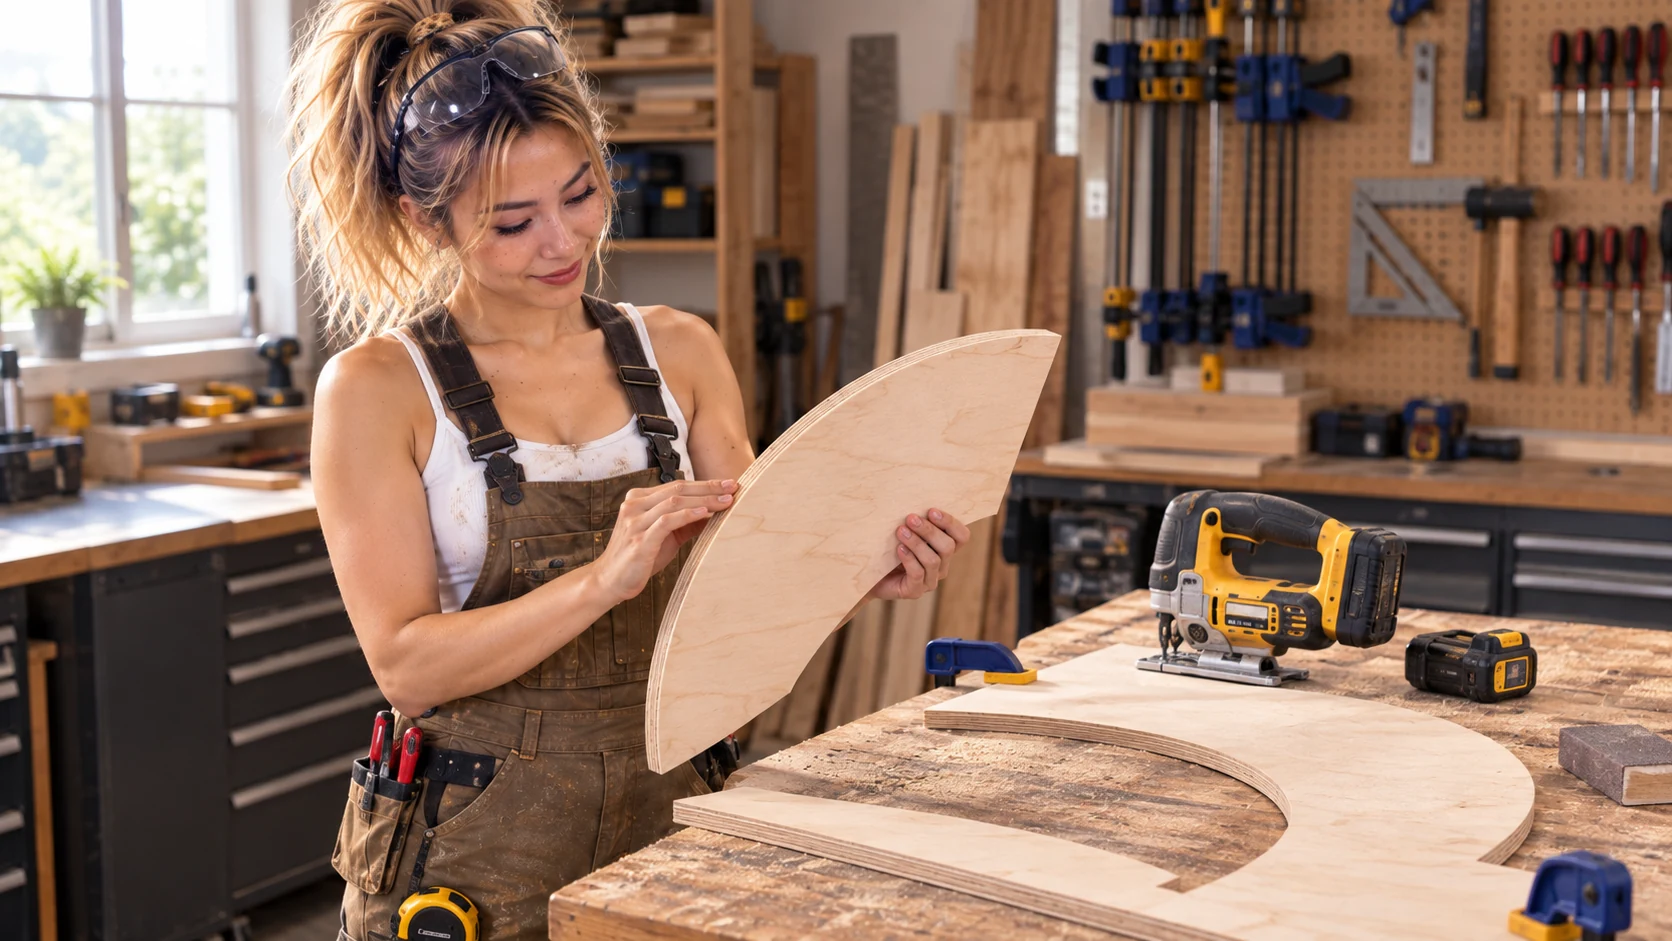
Compare the edge with the pencil line and check for rough spots, excessive tear-out or a bevel that was not intended. A beginner’s practice cut does not need to look machine-perfect. A sanding block can smooth minor roughness, but sanding will not correct a major deviation in the cut’s shape.
Why does my jigsaw cut wander?
- Forcing the saw: ease the feed and let the blade remove material at its own pace.
- Blade deflection: a thin blade can bend in thick stock or a tight curve. Choose a suitable blade and avoid sideways pressure.
- Wrong or dull blade: check its condition and that its maker rates it for the material and thickness.
- Shoe lifting or tilting: keep the base plate flat and supported throughout the cut.
- Aggressive steering: make gradual corrections; reconsider a radius that is too tight for the setup.
- Unstable work: reclamp and support the stock so it cannot move or sag.
Common beginner mistakes
Blade and setup
Changing a blade with the battery attached, choosing a blade unsuited to the stock, or starting before the blade is fully locked wastes time and adds avoidable risk.
Workpiece support
An unclamped panel, a cut over the bench, or an unsupported offcut can shift, sag or pinch the blade. Check below the cut and plan the supports.
Hands and clamps in the path
Keep hands away from and below the blade path. Position every clamp so the saw and blade can pass without hitting it.
Forcing a curve
Pushing hard, twisting sharply or lifting the shoe can deflect the blade and spoil the cut. Slow down or stop to reassess.
Putting the saw down too soon
Wait until the blade has stopped moving before setting the tool down or moving the workpiece.
Jigsaw vs circular saw
A jigsaw is better suited to curves, cutouts and maneuverable shaped cuts. A circular saw is generally better for fast, long straight cuts. Read Jigsaw vs Circular Saw: Which One Should a Beginner Use? for a fuller comparison, or continue with How to Use a Circular Saw: A Beginner’s Guide for a straight-cut workflow.
Jigsaw FAQ
Can a beginner use a jigsaw?
Yes. A beginner can learn with a compatible blade, a stable clamped workpiece and a simple practice cut. Read the tool manual and use eye and hearing protection.
Can a jigsaw cut straight lines?
Yes. A jigsaw can cut straight lines, but it may be harder to keep a long cut straight than with a suitable guide and circular saw.
Why does my jigsaw blade bend?
Forcing the saw, steering too sharply, cutting thick material or using a blade unsuited to the curve can make a blade deflect. Ease off and check the blade, setup and material limits.
Why does my jigsaw cut at an angle?
The shoe may have tilted or lifted, the blade may have deflected, or the setup may not suit the material. Keep the shoe flat and check blade fit and condition.
What blade should I use for plywood?
Use a blade compatible with your jigsaw and identified by its maker for the plywood type and thickness. Tooth pattern and blade design affect speed and finish.
Can a jigsaw cut curves? How tight can the curve be?
Yes. The practical radius depends on blade width and design, material and thickness. Use a suitable blade and do not twist or force the saw to meet a tighter line.
Do I need to clamp wood when using a jigsaw?
The workpiece must be secured so it cannot shift. Clamps are often useful; place them outside the saw’s travel path and leave blade clearance below.
Jigsaw or circular saw: which should a beginner buy first?
Choose for the cuts you expect to make. A jigsaw suits curves and cutouts; a circular saw suits longer straight cuts. Compare both tools here.
Final thoughts
Good jigsaw cuts come from the right blade, a stable workpiece, a flat shoe, a controlled feed and smooth steering—not from forcing the saw. Practice a broad curve on scrap plywood, follow your tool’s instructions and stop if the setup does not feel right.
When your next job needs a long straight cut, see our circular saw beginner guide or the tool comparison.