What is a circular saw?
A circular saw is a handheld power saw with a round blade that spins through the material. It is commonly used for straight crosscuts and rip cuts in lumber, breaking down sheet material such as plywood, and everyday DIY woodworking. Blade capacity, material limits and suitable applications depend on the saw and blade.
A jigsaw moves a narrow blade up and down and can be steered around curves and cutouts. A circular saw is intended for straight cuts and usually works best guided along a reference edge. Neither tool is a substitute for the other on every job.
Know the main parts
Controls vary between models, so identify these on your saw using its manual before plugging in or installing a battery.
Blade and guards
The blade does the cutting. The fixed upper guard covers its top; the lower guard should retract for a cut and return over the blade afterward. Check that it moves freely.
Base plate or shoe
The flat plate rests on the work. Keeping it flat and supported helps the saw follow its intended path.
Main and front handles
These give you control of the saw. Use the handles intended by the manufacturer and keep both hands away from the blade path.
Trigger and safety lock
The trigger runs the motor; a lock or safety switch may prevent accidental starting. Learn the controls before the saw is near the work.
Depth and bevel adjustments
Depth changes how far the blade extends below the shoe. Bevel changes the blade angle for angled cuts. Lock both settings as the manual directs.
Battery, cord and dust outlet
Cordless models use a battery; corded models need a clear cord route. Some saws have a dust outlet for a compatible extractor.
What you need
- A circular saw in good condition
- A compatible, sharp blade suited to the material and cut
- The workpiece and a stable workbench or supports
- Clamps placed clear of the saw and blade path
- Tape measure, pencil, and a carpenter’s square or straightedge
- Eye protection and hearing protection
- Respiratory protection when the material or dust conditions call for it
Choose clamps that fit the job and hold the stock firmly; our guide to types of clamps covers common options. If you are new to cordless tools, see how to use a cordless drill and how drills and impact drivers differ.
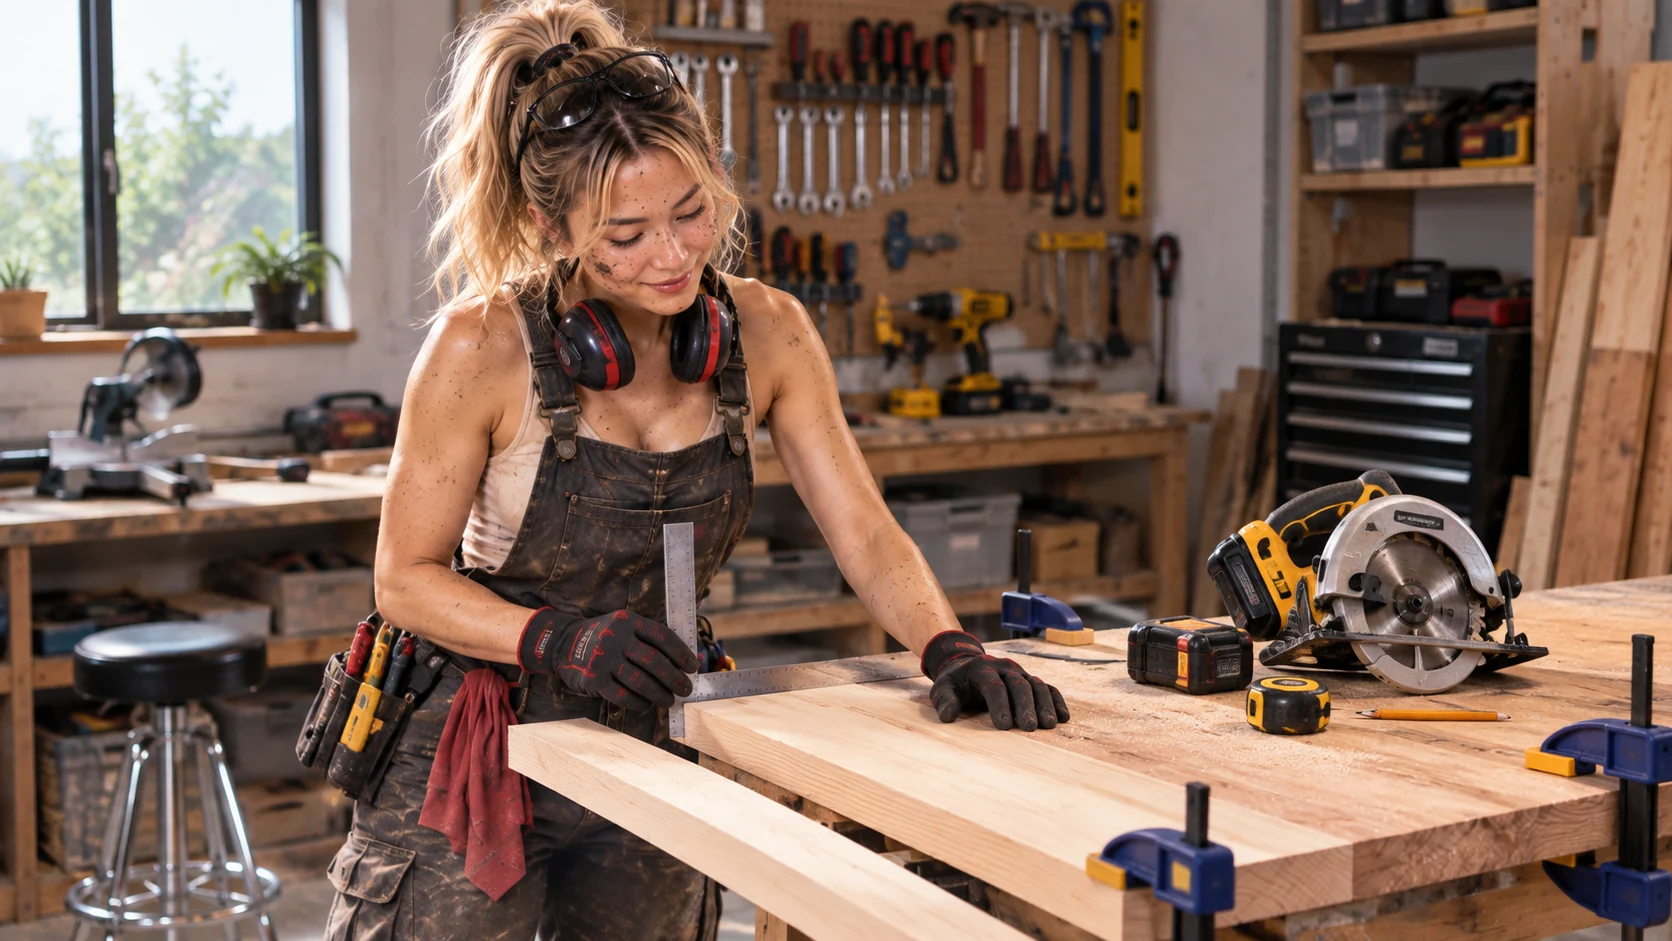
Before setup, inspect the saw and blade for damage, confirm the blade is correct for the saw and material, and check that the lower guard returns properly. Mark the cut, secure the stock and keep your finger off the trigger while positioning everything. Never start a saw while its blade is touching the work unless the manufacturer’s instructions specifically describe that procedure.
Step 1 — Measure and mark the cut
Measure from a known edge and make a clear pencil mark. Use a carpenter’s square for a crosscut or a straightedge for a long rip. Mark the waste side so you know which side of the line the blade should remove; account for the blade’s kerf, the narrow strip of material the teeth cut away.
Check the measurement and the line before clamping. A clear reference is easier to follow than trying to correct a wandering cut halfway through.
Step 2 — Support and secure the workpiece
The board or panel must sit steadily, with the blade able to pass underneath without striking the bench, sawhorse or another support. Do not put the cut line directly over the workbench. Support the material on both sides as needed while leaving clearance for the blade.
- Clamp the supported portion firmly and keep every clamp outside the saw’s travel path.
- Plan where the offcut will settle when the cut is complete; it must not drop, twist or close the kerf around the blade.
- Arrange supports so the material does not sag into the cut. A closing kerf can squeeze the blade and make the saw bind.
- Keep your hands clear of the cut line and the area underneath it.
For larger sheet goods, use a stable setup designed to support the panel without trapping the blade. If you cannot make the material stable and clear beneath the cut, change the setup before switching the saw on.
Step 3 — Set the blade depth
With the saw disconnected from power and following its manual, set the blade so it extends only a little below the underside of the material. That gives the teeth enough reach without exposing more blade than the cut needs. The right setting depends on the saw, blade and stock; do not rely on one measurement for every setup. Lock the depth adjustment before cutting.
Step 4 — Get into position
Stand with a balanced stance and a clear view of the reference line. Hold the saw by its intended handles with two hands where the design provides them. Keep fingers and loose clothing away from the blade path, and keep the shoe flat on the work. Stand slightly to the side rather than directly behind the saw’s line of travel, while staying balanced and able to control it.
Check that a cord cannot cross the cut or catch on the work. Make sure the blade, guide and supports are aligned. Kickback is a sudden backward or upward movement that can happen if a blade binds or the saw twists; correct support and steady control help reduce the chance. Follow the instructions for your exact saw, since its controls and safety features may differ.
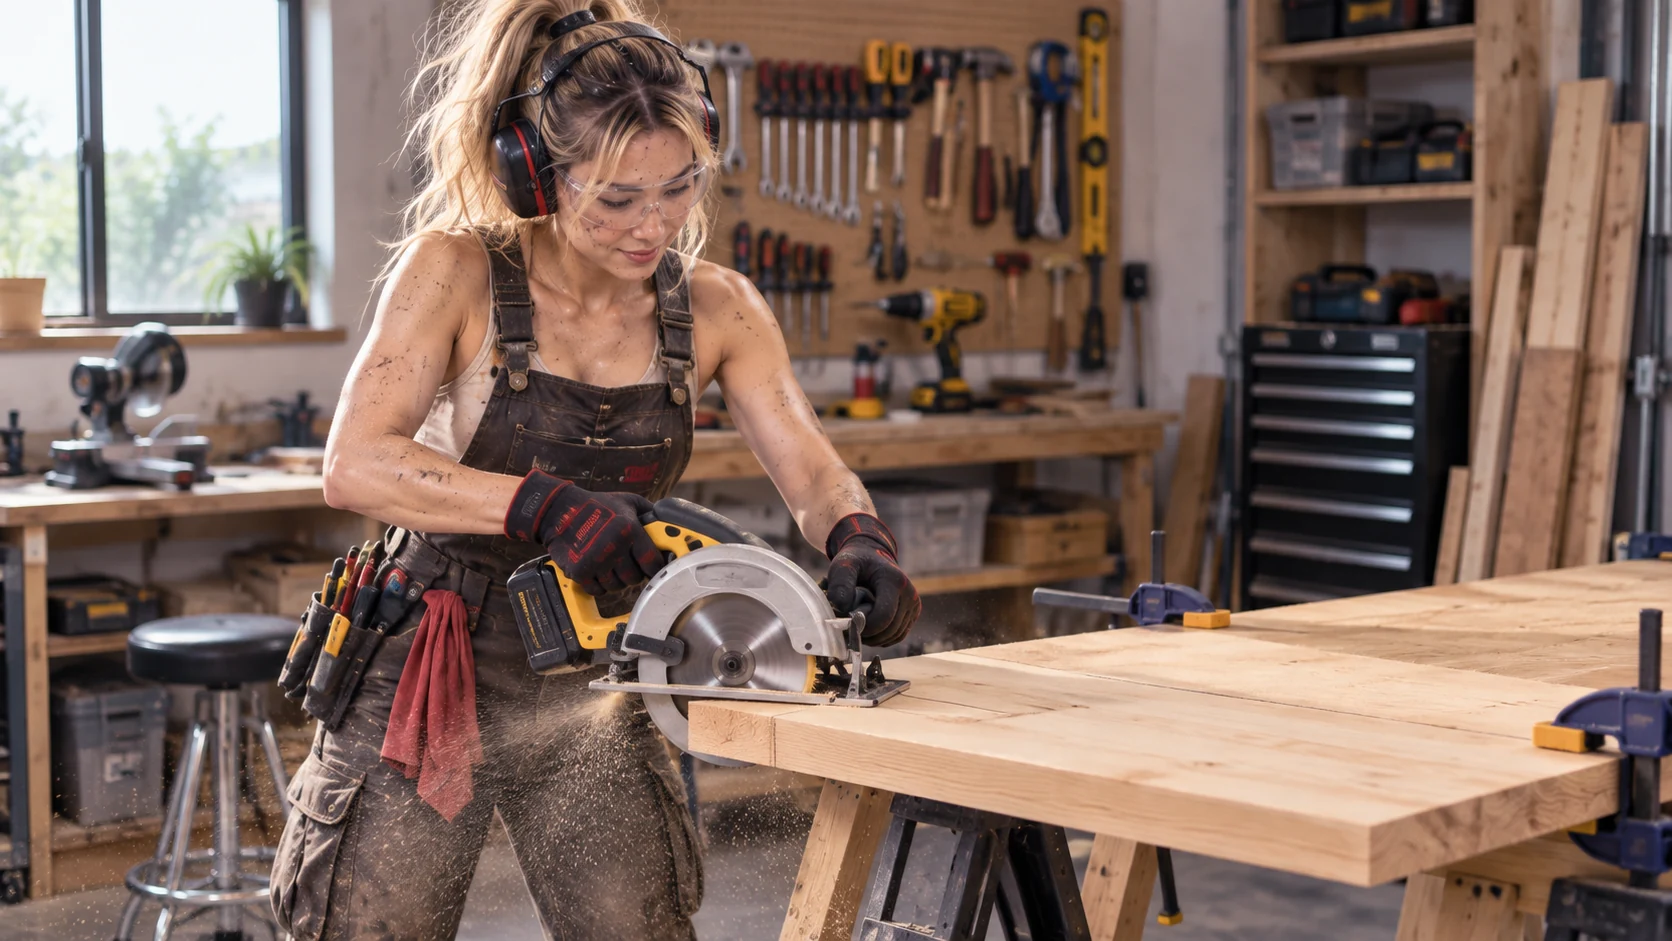
Step 5 — Start and make the cut
- Position the shoe securely and align the blade with the correct side of your marked line.
- Confirm the blade is clear of the material before starting, unless your saw’s manual gives a different procedure.
- Start the saw using its specified controls and let the blade reach operating speed.
- Guide it steadily into and through the work, following your reference while keeping the shoe flat.
- Do not force the saw. Let the blade do the cutting and keep control through the end of the cut.
If progress slows or the saw begins to bind, do not push harder. Release the trigger, hold the saw steady until the blade stops, then inspect the blade choice and condition, material support and kerf. Disconnect power before making adjustments or clearing anything near the blade.
Step 6 — Finish the cut safely
Maintain control as the blade exits the far edge. Release the trigger and keep holding the saw in place until the blade has stopped. Let the lower guard return as designed, then lift or set the saw down carefully according to its instructions. Never put it down while the blade is still moving, and do not force the guard closed by hand.
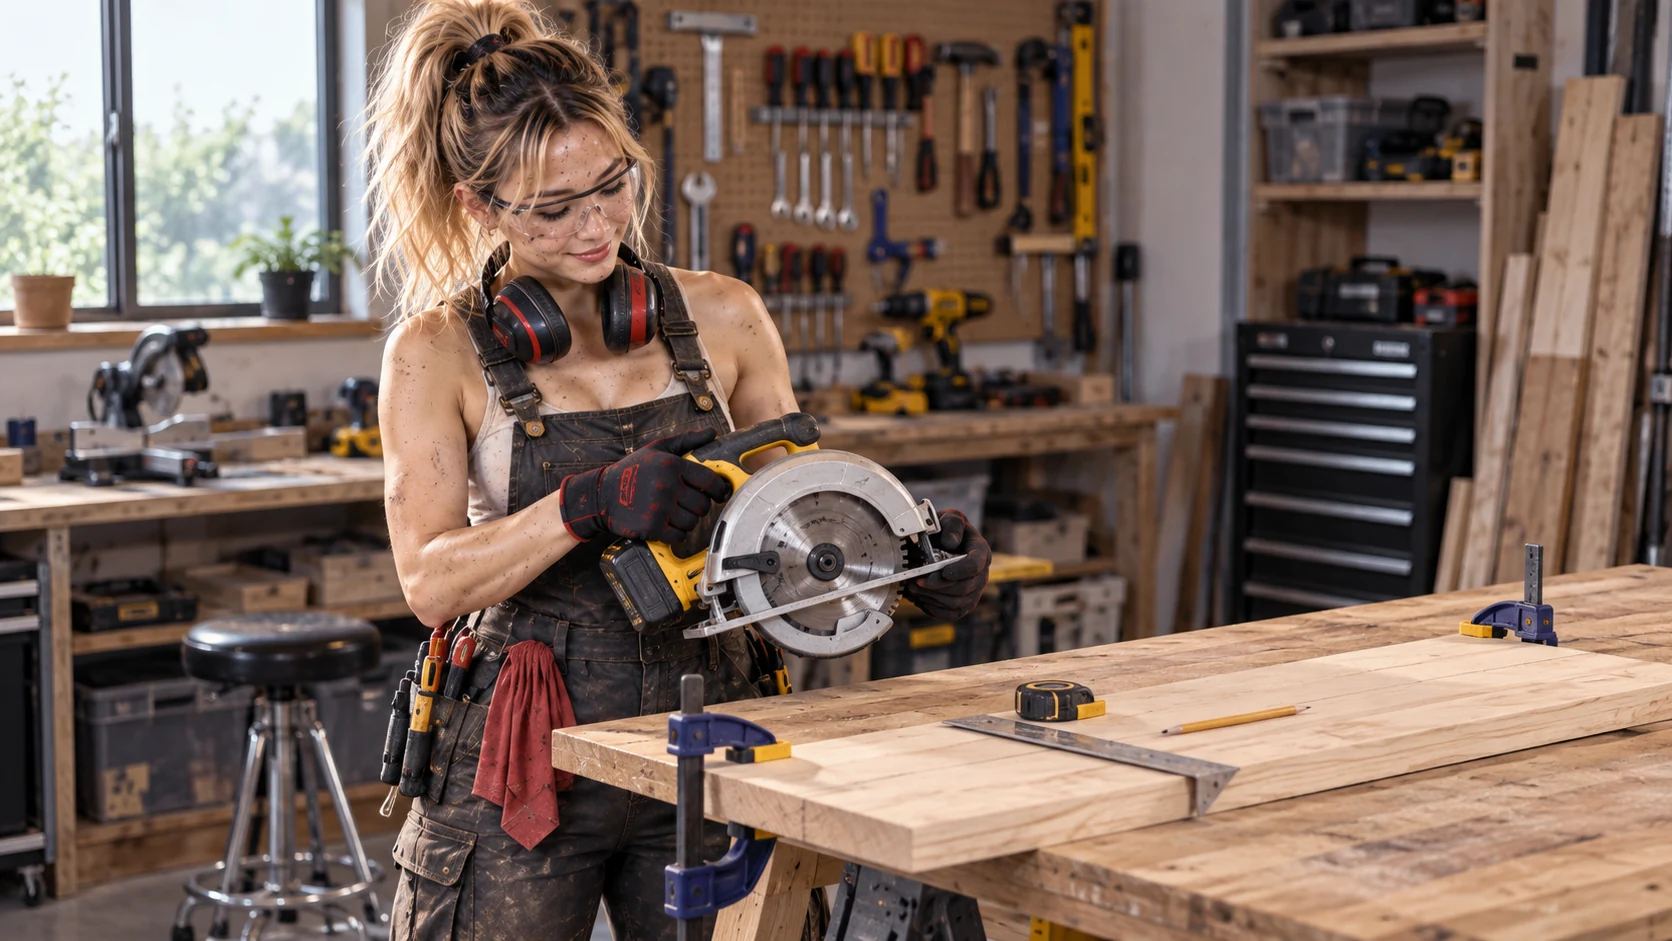
Step 7 — Inspect the cut
Check that the edge follows the intended line and use a square if the cut needs to meet an edge at a right angle. Look for roughness, splintering or a blade that wandered. A wandering cut can come from a poor reference, a loose guide, rushing, a dull or unsuitable blade, or stock moving during the cut.
Before cleaning the saw, changing the blade or inspecting it closely, disconnect it from power or remove the battery as appropriate. Follow the manual for blade changes and maintenance.
Common beginner mistakes
- Poor support: A moving board is hard to control and can pinch the blade.
- Cutting into the bench: Check the clearance below the cut before starting.
- Too much blade exposed: Set depth conservatively for the material and saw.
- Hands or clamps in the path: Keep the cut and saw travel clear.
- Forcing or twisting the saw: This can cause binding, a rough cut or kickback.
- Wrong or damaged blade: Check compatibility, condition and material suitability.
- Ignoring the offcut: Support it so it cannot fall or squeeze the blade.
- Lifting the shoe during the cut: Keep the base plate flat and supported.
- Setting the saw down too soon: Wait for the blade to stop completely.
Understanding kickback
Kickback is when the saw reacts suddenly and moves back toward the operator or lifts from the work. A blade that gets trapped, a saw that twists, unstable stock, poor support, an unsuitable or damaged blade, or forcing the cut can contribute. It is one reason to plan the support and offcut before starting.
Reduce the chance by using a sound compatible blade, supporting the material so the kerf stays open, keeping the shoe flat, guiding without twisting and stopping if the saw binds. Do not restart a trapped blade in the cut. Follow the saw maker’s safety instructions; this guide does not replace them.
Circular saw vs jigsaw
A circular saw is usually the better fit for a guided straight cut. A jigsaw is more maneuverable for curves, cutouts and shaped work. The right choice still depends on the material, blade and tool. For a fuller comparison, read Jigsaw vs Circular Saw: Which One Should a Beginner Use?
Circular Saw FAQ
Can a beginner use a circular saw?
Yes, after reading the saw manual, learning its controls and practicing a basic cut with suitable PPE, a stable setup and a compatible blade. Start slowly with scrap material.
What can you cut with a circular saw?
Depending on the saw and blade, common jobs include straight cuts in lumber and sheet goods. Check the tool and blade ratings before cutting other materials.
How deep should a circular saw blade be set?
Set it only far enough below the material to complete the cut, following the saw manufacturer’s guidance. The suitable amount varies with the saw and workpiece.
Why does my circular saw wander from the line?
The guide may have shifted, the stock may be moving, the blade may be unsuitable or dull, or the saw may be forced or twisted. Stop and check the setup rather than steering harder.
What causes circular saw kickback?
Binding or pinching, twisting, unstable support, a damaged or unsuitable blade, and forcing the tool can contribute. Correct the setup and follow the saw manual.
Do I need to clamp wood before using a circular saw?
The workpiece must be secured so it cannot shift. Clamps are often useful, but place them clear of the saw path and use supports that will not pinch the blade.
Circular saw or jigsaw: which should I buy first?
Choose based on your projects: a circular saw suits guided straight cuts; a jigsaw is useful for curves and cutouts. Our comparison guide can help you decide.
Final thoughts
Good circular-saw work comes from preparation and control, not force. Measure carefully, support the work so the blade cannot bind, set up the saw as its manufacturer directs and keep a steady grip. Let the blade do the work—and stop to reassess if anything feels wrong.